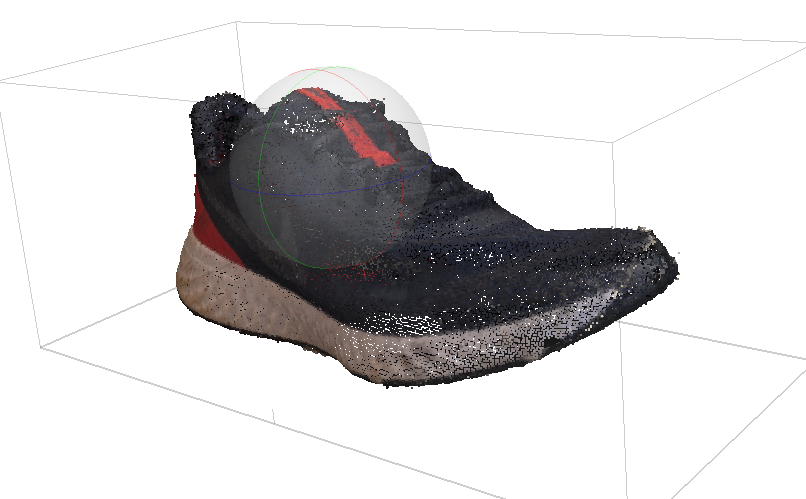
3D Digitization Final Project
Project Overview
For the final project of this course, the professor let us pick any object that met certain criteria to Digitize. The object needed to be photographed multiple times with the same camera from different points of view. Using the gathered data, a 3D model can be generated with some clean up required. The goal of this project is to successfully generate a 3D model using my own tools that has high detail and high quality texturing.
Selecting a Subject
For this project, we got to pick any model to try and digitize. Certain criteria need to be met when picking a model to digitize. Since we’re trying to generate a 3D model using a camera, there’s going to be limitations of the optical sensor we have to deal with. First, objects with reflective surfaces will likely not work. The surfaces on these models will reflect light of the room and cause problems when attempting to generate a point cloud. Second, a transparent surface will also not work. Many transparent surfaces also reflect light and have the added complexity of being able to see the other side of the model. When the computer tries to calculate the position of different points in the scene, it will very easily get confused by the changes from photo to photo. Third, anything that’s been injection molded with no wear and tear will have a hard time being rendered. The lack of surface imperfections will confuse the software and result in some strange texturing. Keeping all of this in mind, I had 4 potential ideas for models to digitize.
Power Drill
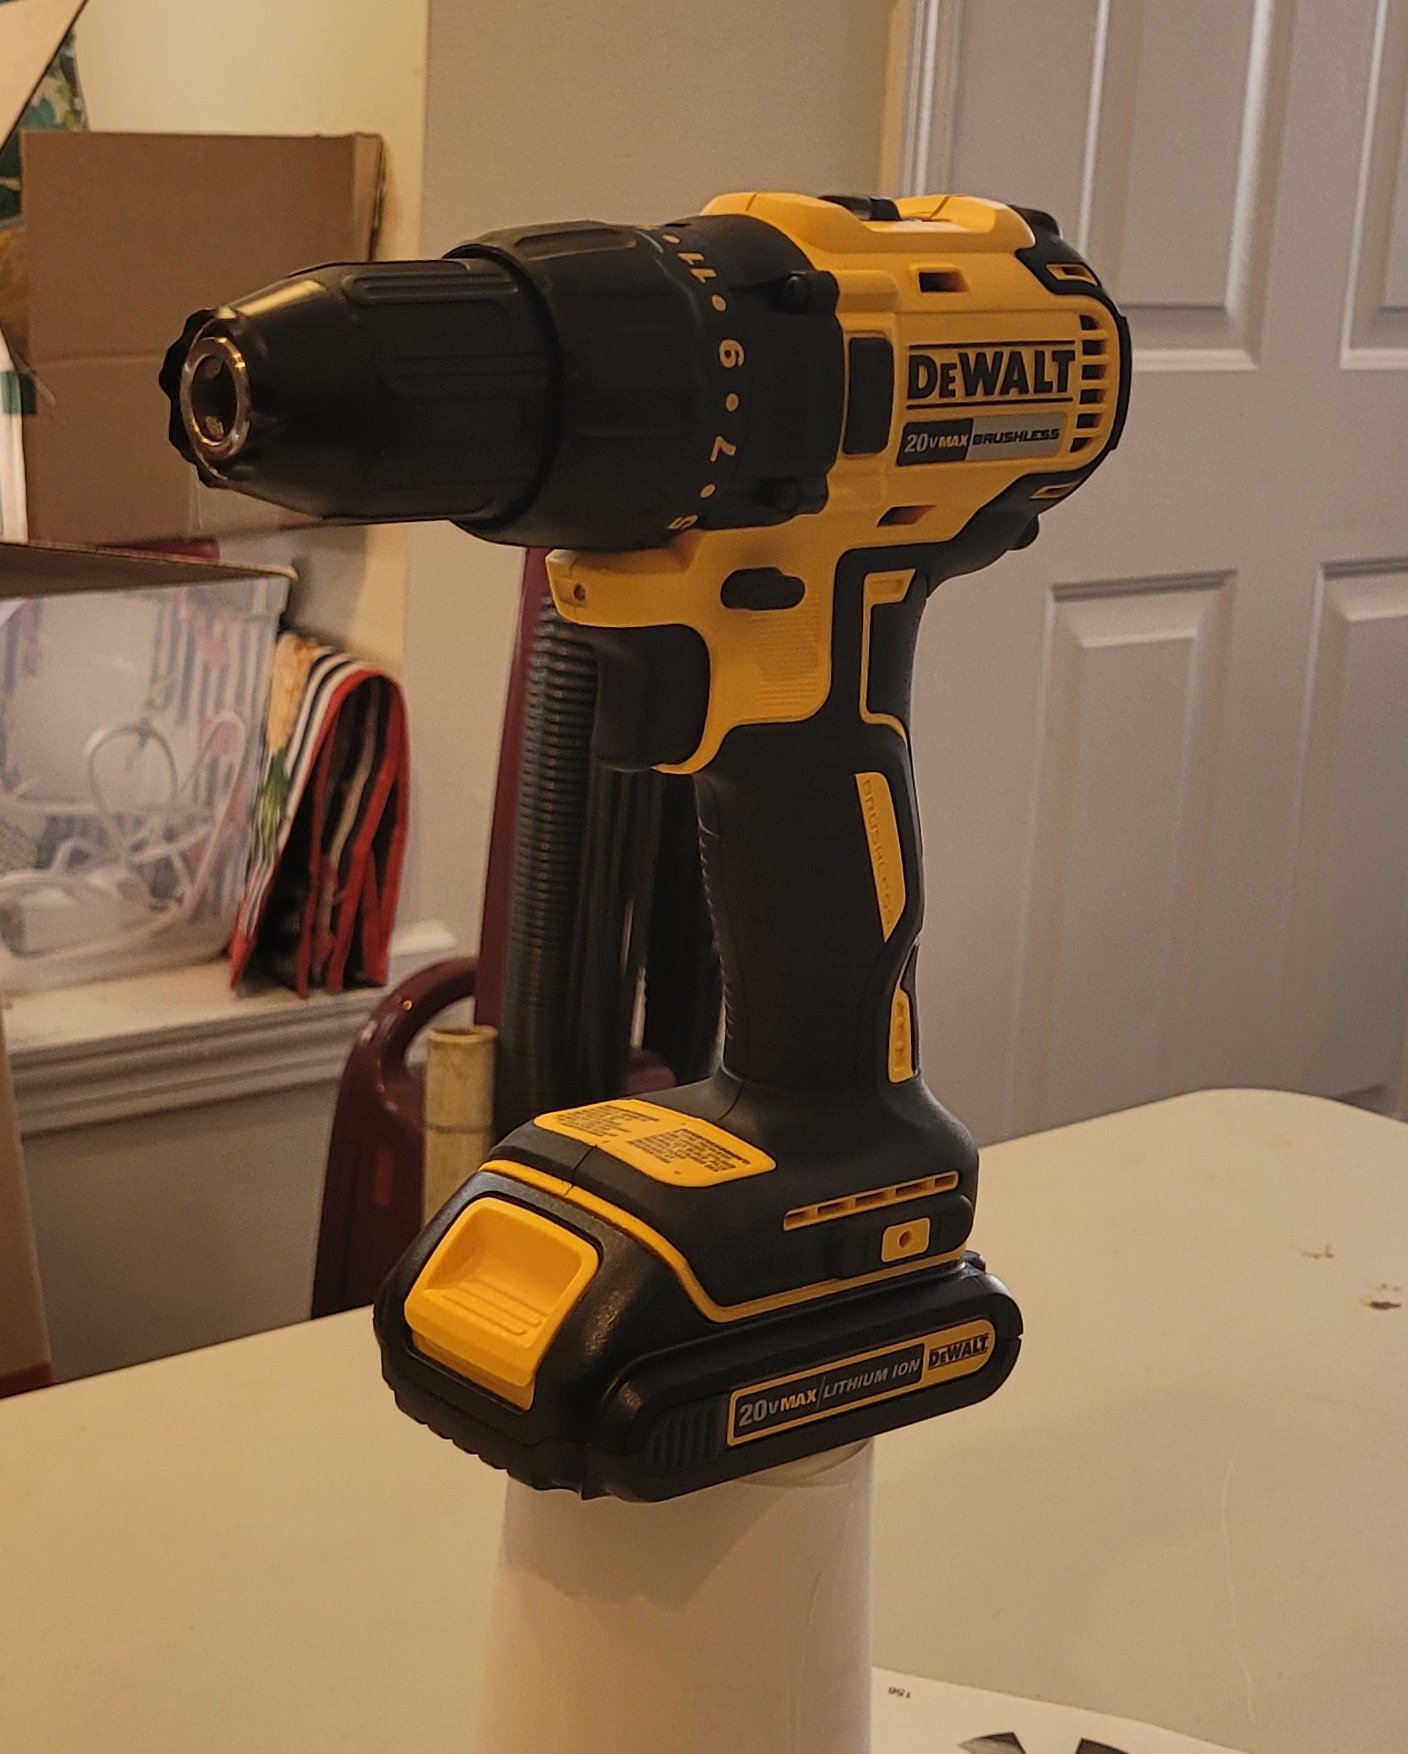 The first was this dewalt power drill. I considered this since it has no reflective surfaces and is a fairly complex object. One of the main downsides to this object is that many of its parts are injection molded, meaning the computer would have a lot of issues trying to generate a point cloud from it. This doesn’t make it impossible to digitize, but it’s not ideal.
Pokeball Card Holder
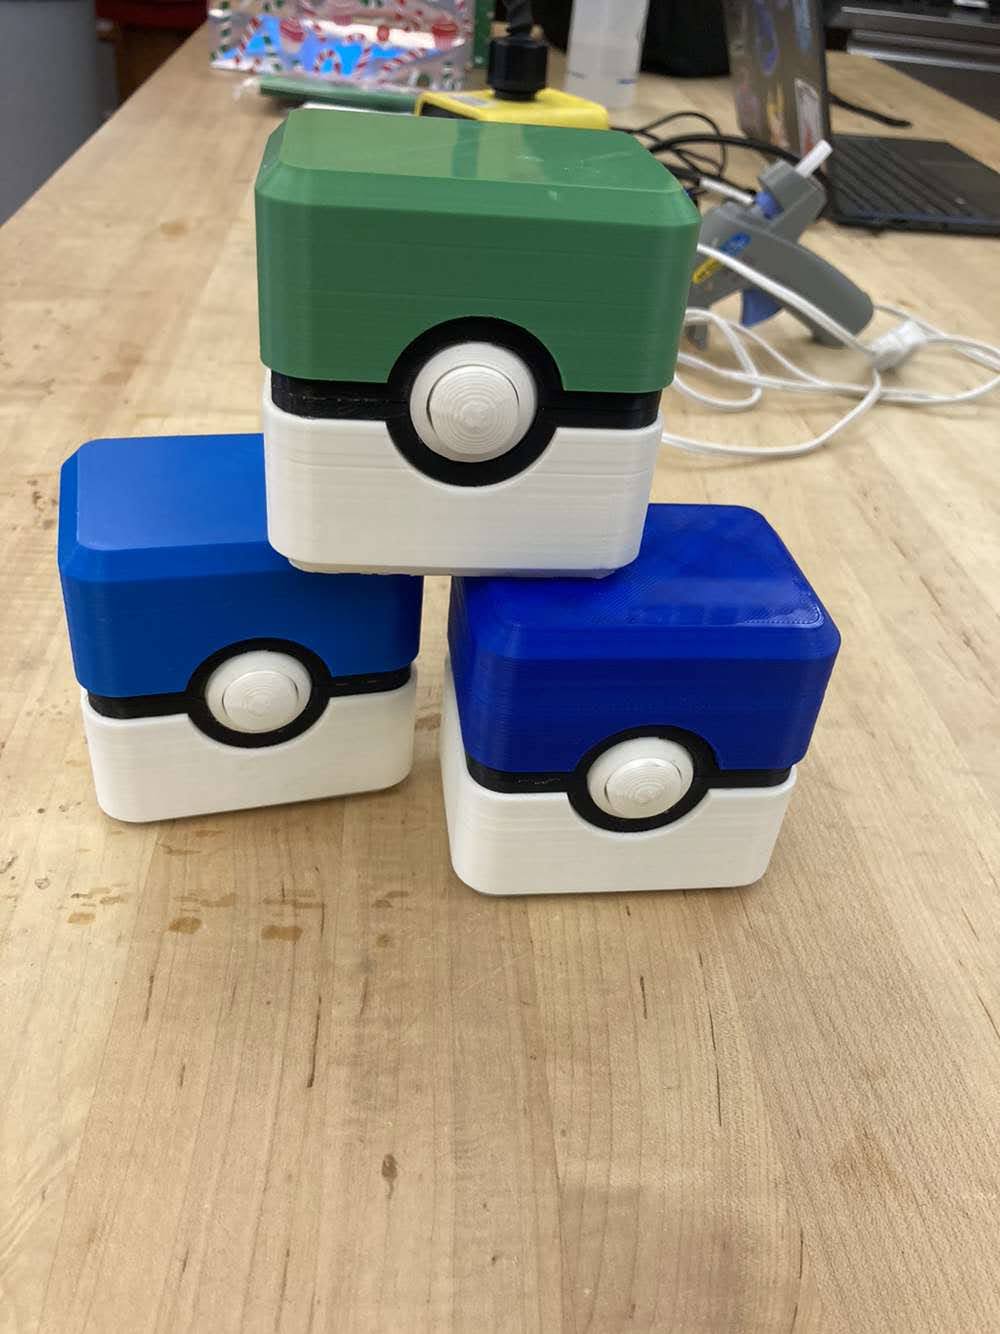 The next item I considered was one of these pokeball card holders. While this is still plastic, these were hand made using a 3D printer, glue, and hinges. The handmade nature of these means they have a lot of tiny details like the layer lines from printing and imperfections from assembly. While this does solve the problem of the plastic being too perfect from the previous model, it’s a much more simple design resembling a basic cube. I ultimately decided to try and look for another object because of the lack of visual interest.
Geode
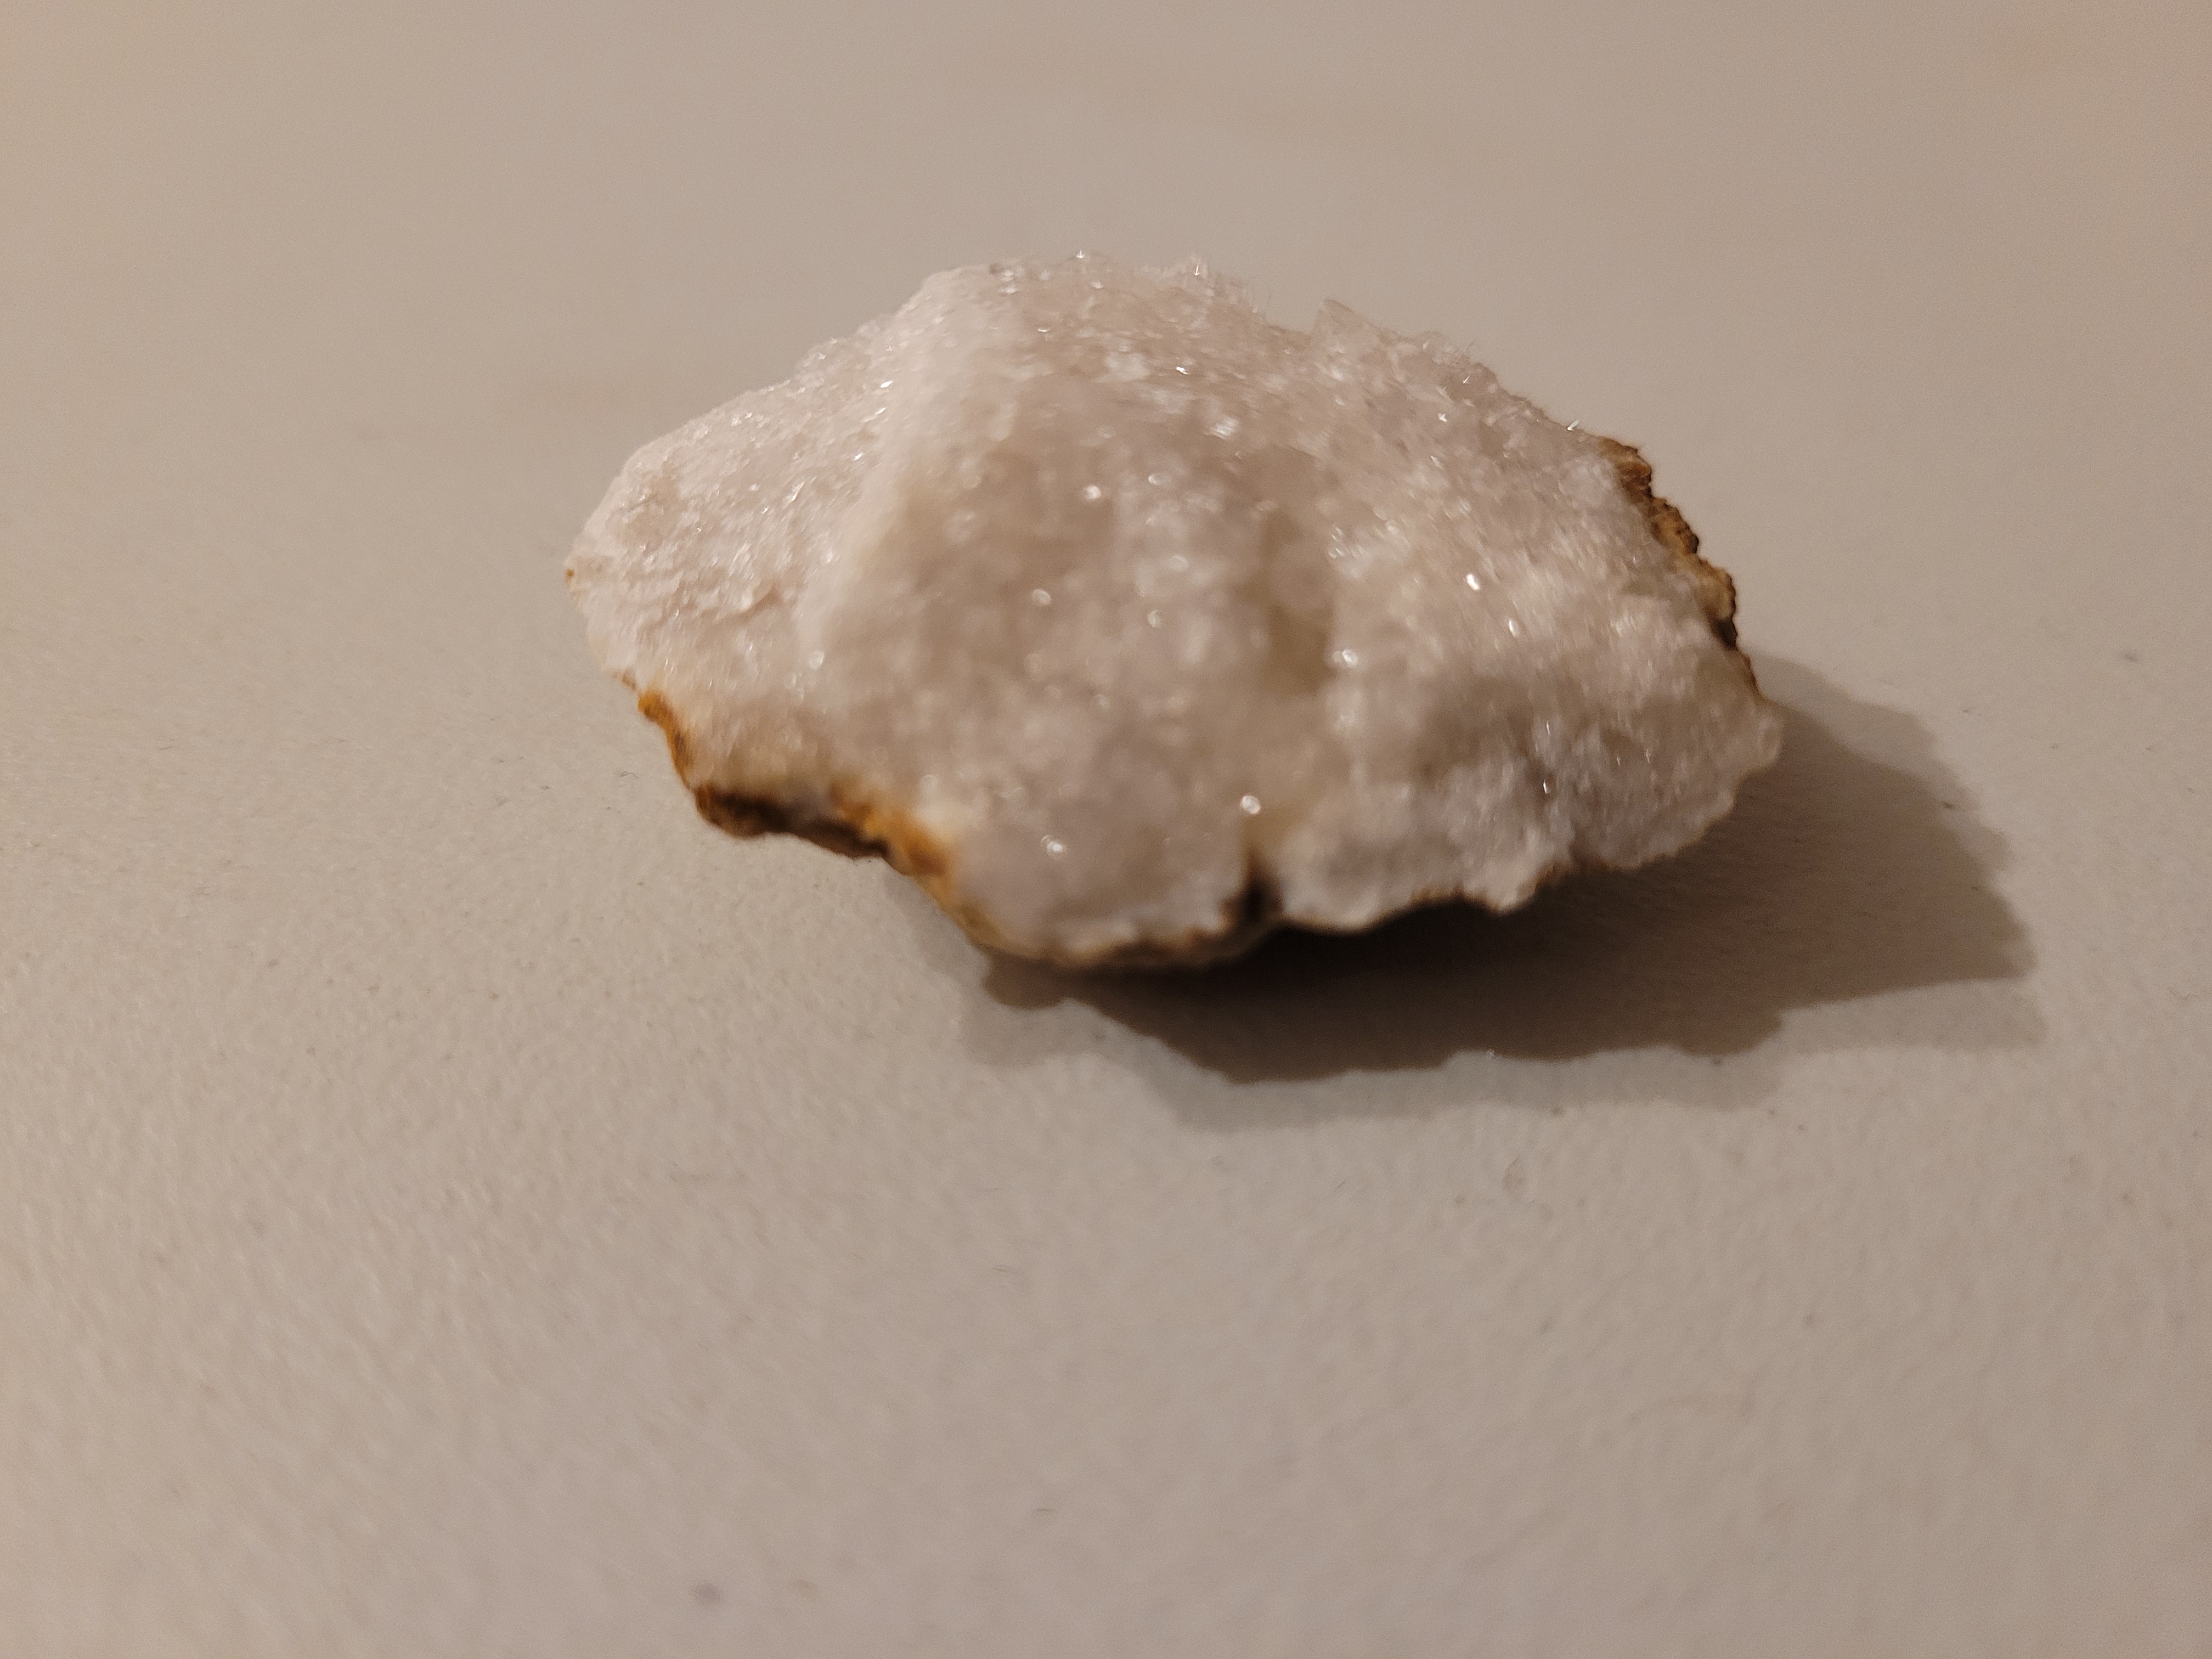 This object is a part of a geode that me and some friends found while caving. This has a lot more surface detail than the previous two. That would definitely help with generating the texture and keeping the detail high, but the fatal flaw of this one is that the surface is semi-translucent. This combined with the object being physically small make this not a great candidate for digitization.
Shoe
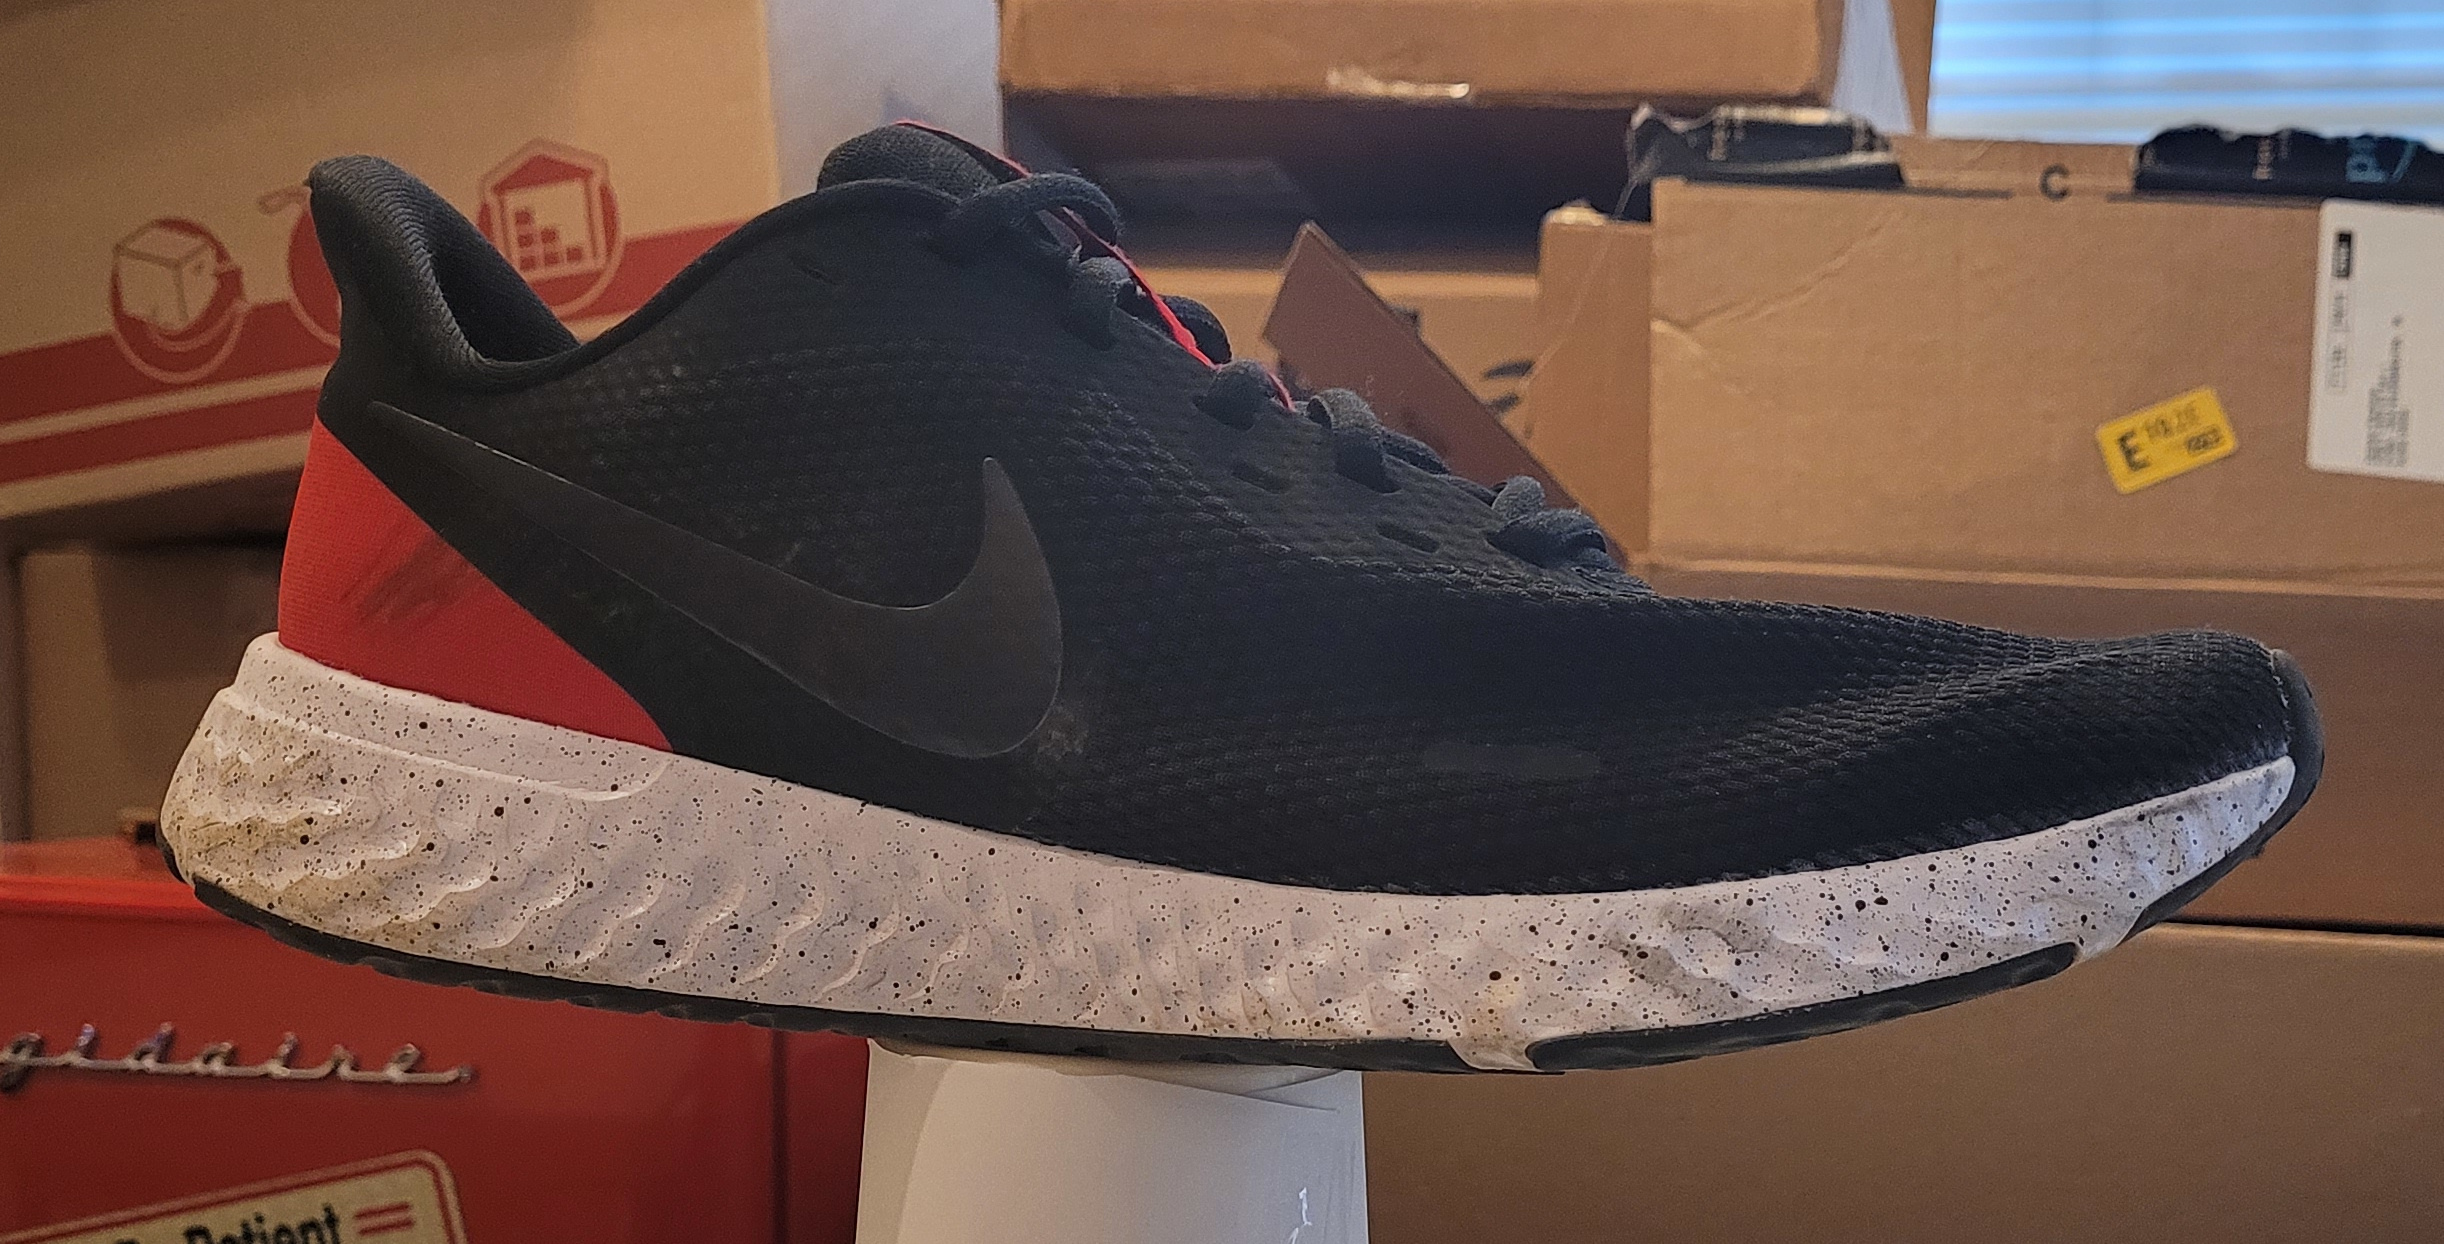 The last object I looked at was this shoe. This one has no transparent or reflective surfaces due to mostly being made out of cloth and rubber. Since it also has some wear due to being worn outside, that means a lot of the surfaces towards the bottom have imperfections that can easily be captured by the photogrammetry software. Ultimately, this object is the one I decided to use due to it having the strengths of all the previous ones and none of the weaknesses.
Photographing The Subject
Now that the subject has been selected, the next step is to gather the photo dataset to reconstruct it digitally. For my camera, I used a Galaxy S20 FE 5G smartphone. Modern smartphone cameras are great for photogrammetry due to their great autofocus and high resolution sensors that can capture photos up to 4k.
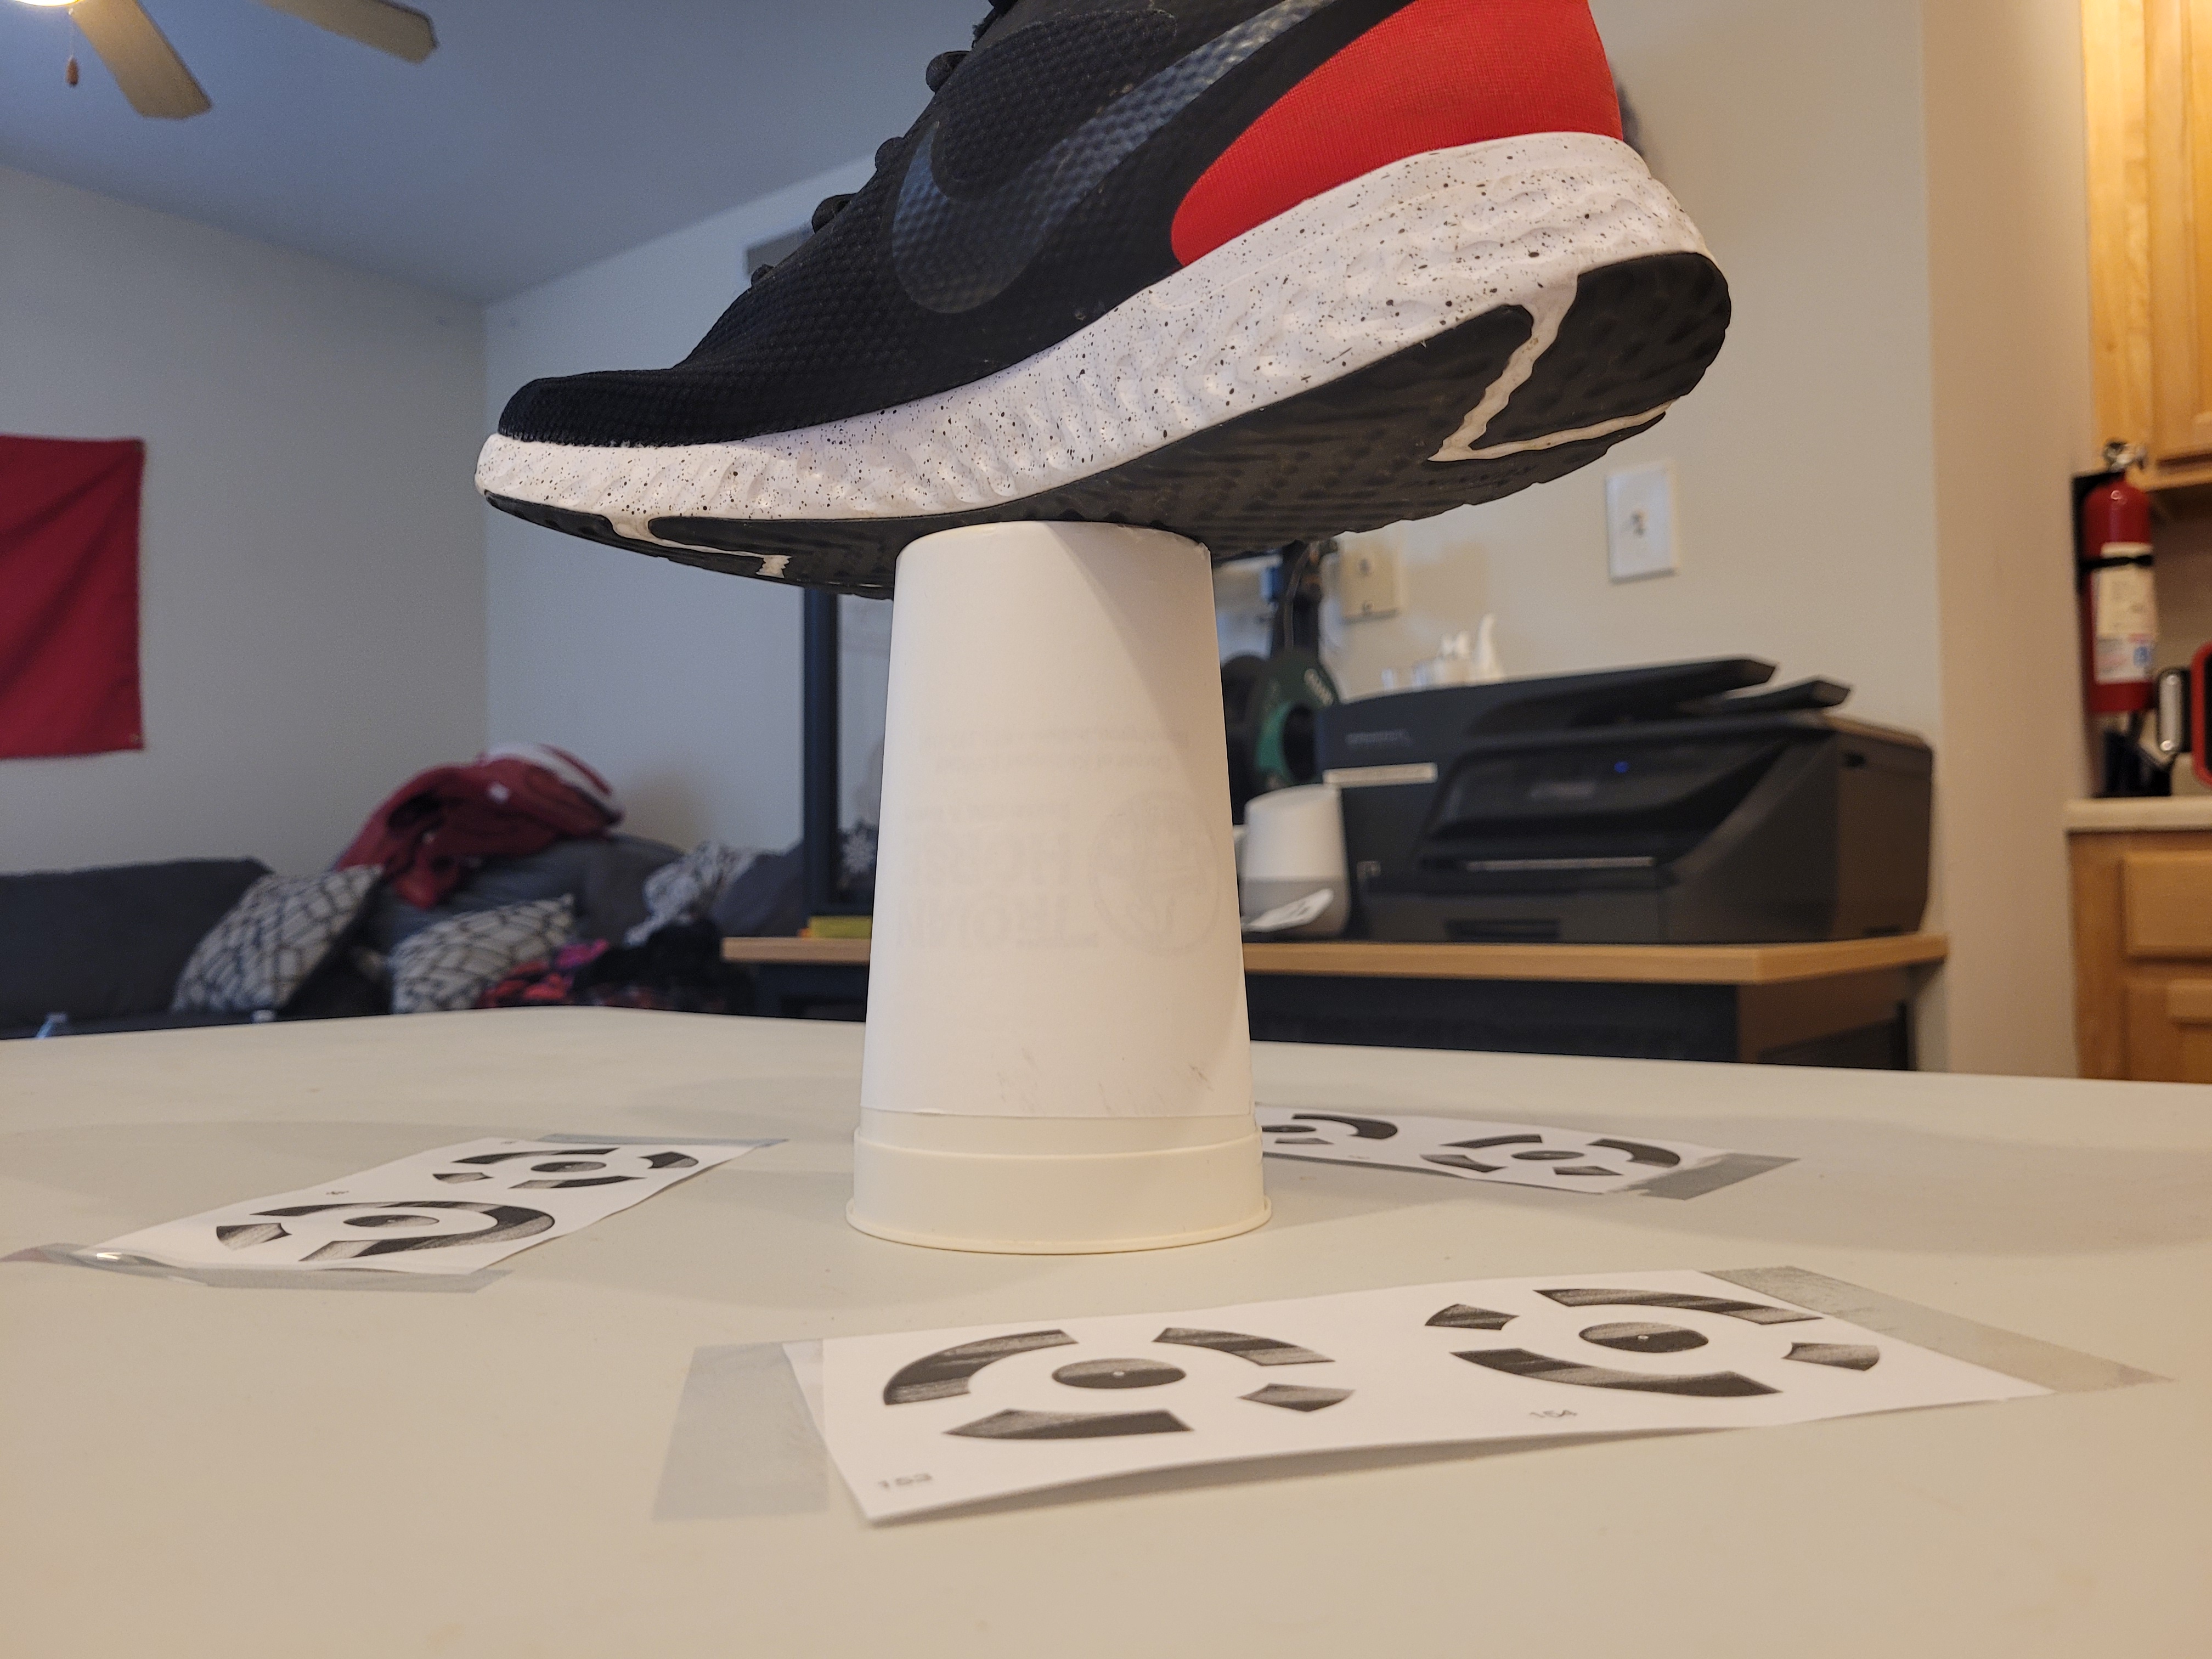
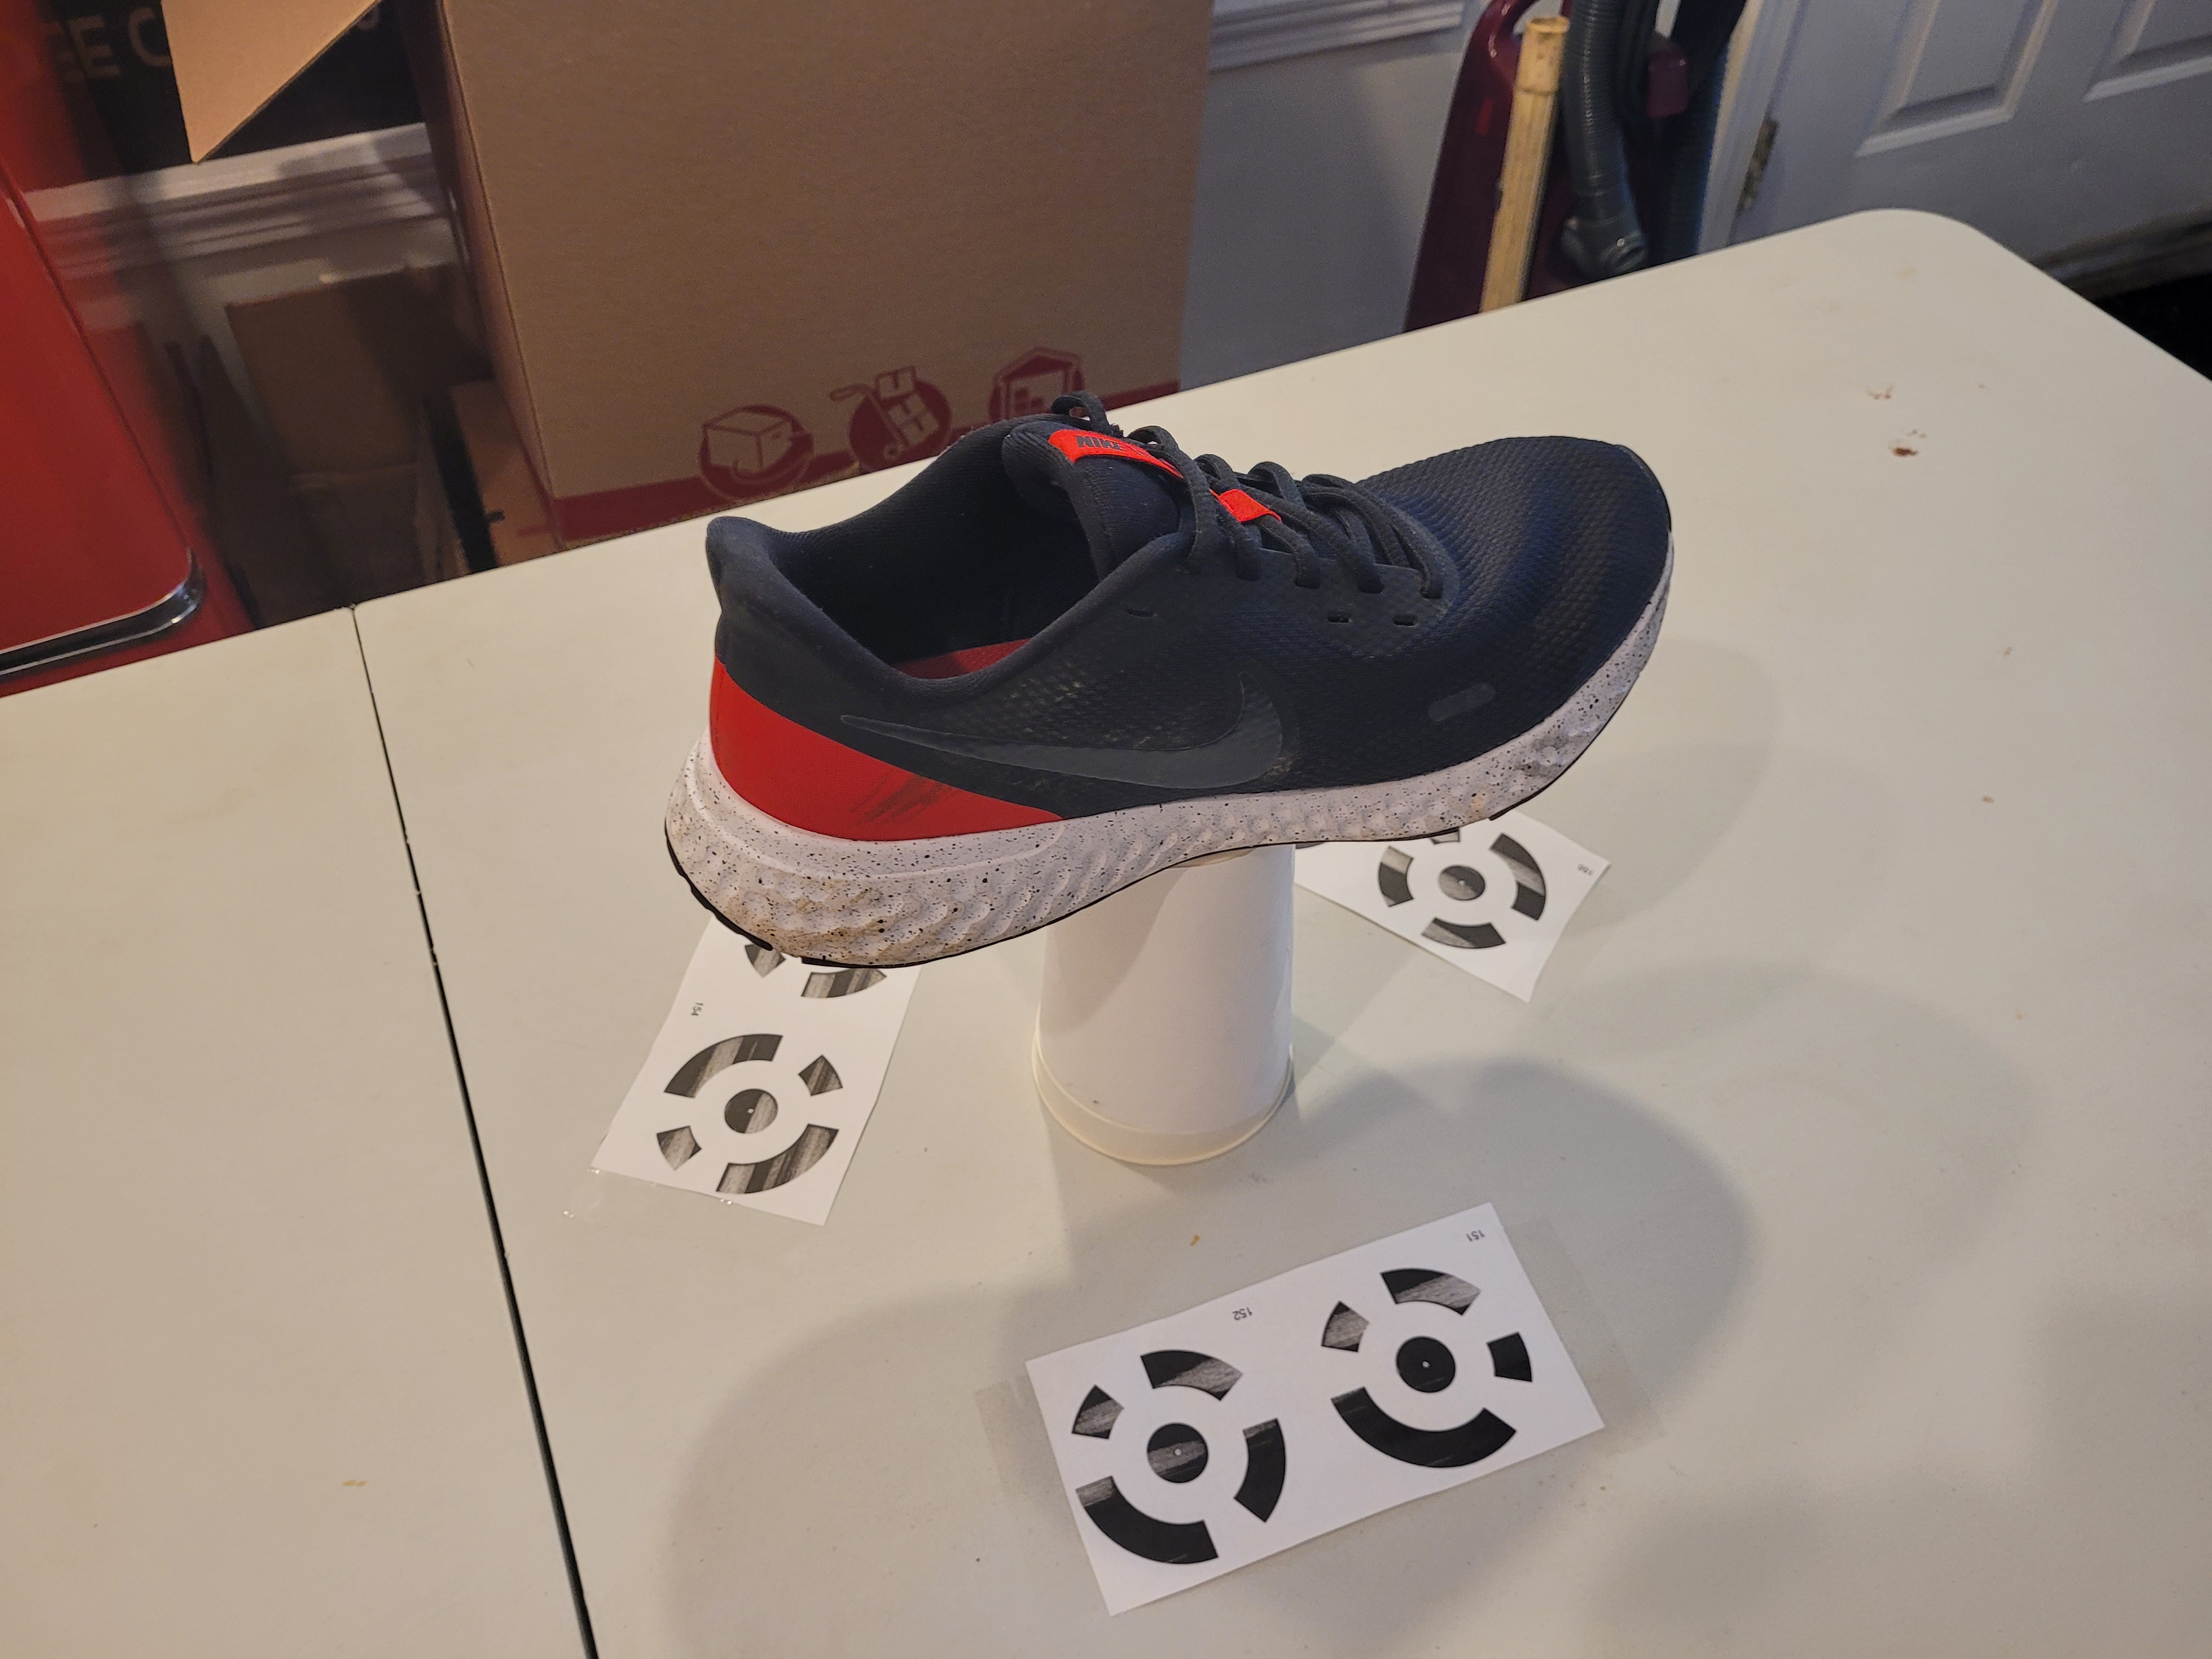
I set up a scene making use of 6 qr-code-style markers on a clean table surface, and elevated the subject using a cup. I wrapped the cup in a blank piece of paper in order to try and eliminate any unwanted interference from the design on the outside of the cup.
After setting up the scene properly, the next step is to begin photographing the subject at different angles to try and build up a large, high quality dataset of images. My strategy was to photograph in a circle at 3 different angles aimed from top down, bottom up, and straight on. The hope here is to get enough data to reconstruct the object with as much detail as possible. After completing my 3 rings worth of data capture, I then went in and took some close up pictures of areas I thought might be problematic such as the underside of the shoe and the inside part.
Software Setup
Now that I have a good amount of data for this model, the next step is to import it to the software and begin the setup process. I’ll be using Agisoft Meteshape Professional for this since that’s the software we learned in class. Other programs are available for this process as well such as the open source software meshroom.
You can import a folder containing all the images of the subject I took earlier using Workflow -> Add Folder and selecting the appropriate folder. This automatically loads all the photos in correctly and considers all relevant camera parameters. Next, the photos need to be aligned with one another. What this process essentially does is uses the processing power available in the computer to calculate the exact position each photo was taken from. This information is very important when attempting to build the point cloud, dense cloud, model, and texture detail. This can be done by using Workflow -> Align Photos process. Accuracy should be set to highest with the generic pre-selection option selected. This process should only take 5 to 10 minutes.
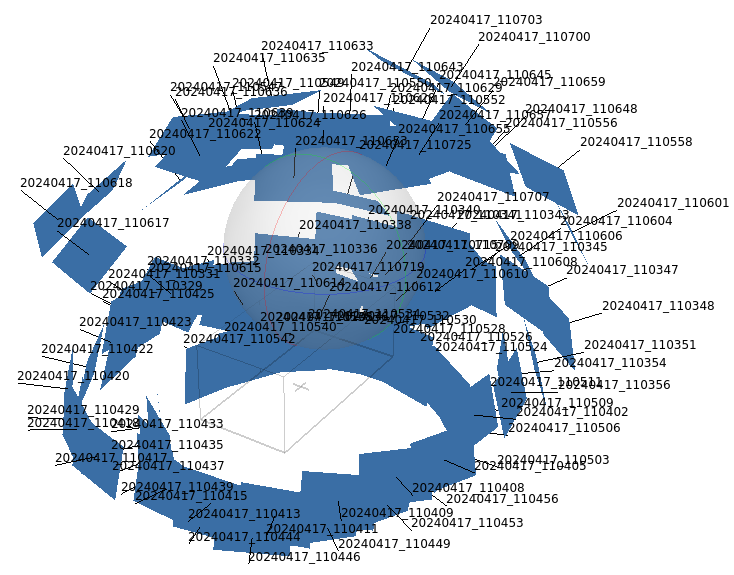
The result of the Align Photos operation should be something that looks like a sphere of rectangular cutouts. Each of these rectangular shapes represents a camera or a point of view of the subject we photographed. The more of these squares, the more points of reference you have when generating distance and texture information.
Workflow
Now that the data has been imported to Agisoft Metashape, we can begin making some changes to the data and generate the base point cloud for the object. First, low quality images need to be removed from the dataset to try and keep the final model as high quality as possible. This can be done by using the Evaluate Quality operation on the data.
The result of this operation will be a value between 0 and 1 with 1 representing the highest quality data. Any photos that fall below a 0.5 quality rating should be removed as they will harm the final model quality.
Point Cloud
The data is now ensured to be at a high enough quality level to begin generating the point cloud. This point cloud is used as a rough interpretation of the model at first so that you can identify the portion of the scene you want to isolate. The point cloud can be generated by using the Workflow -> Build Point Cloud operation. This operation should usually be done at medium quality to get as much detail as possible without taking a very long time. It should only take about 20 - 40 minutes.
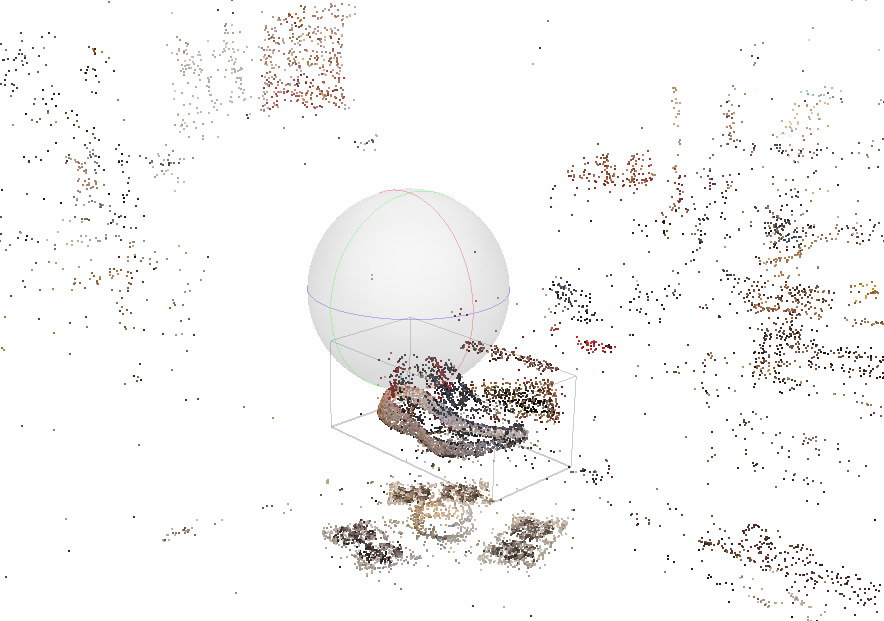
Since the photos of the scene inevitably contain some of the room the capturing was done in, the resulting point cloud is very messy. This is because the software is generating a point cloud for anything it was able to triangulate positional information for. We do not want to use the positional information it calculated for the room, so we use the base point cloud to simply identify the portion of the scene we do want to model. The gray box outline represents the subject you’d like to isolate from the rest of the scene. You can adjust its dimensions using the region specific movement and resizing tools at the top on the toolbar (box shaped button).
Dense Cloud
Once the subject has been selected, it will now be isolated when the dense cloud is generated and only show the region specified. To generate the dense cloud, simply use the Workflow -> Build Dense Cloud operation. The resulting cloud should be much more detailed than the point cloud, but still a bit messy.
The dense cloud can be cleaned up by manually selecting and deleting points that look either like noise or from other objects. This process is very manual and it’s up to you to decide what is and isn’t important. Usually, large chunks of points that aren’t close to the main subject are a safe choice to delete.
Model & Texture
Once the manual cleaning is done to the best of your ability, the final steps are to generate the model and texture. This can be done using the Workflow -> Build Model and Workflow -> Build Texture operations respectively. The result of the build model operation should be a high quality object render but a low quality texture render. The Build Texture operation should fix that and make a full high quality render of the full object.
Fix Object Scale
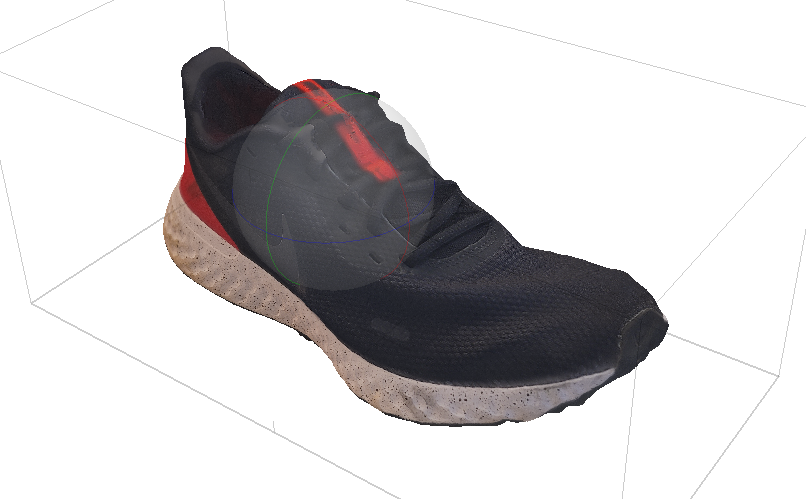 The object is now properly rendered and is almost ready to be exported. The final thing to adjust is the sizing. As of right now, the size of this object is arbitrary since there are no real world measurement units defined yet. This can be fixed by using Tools -> Markers -> Detect Markers. What this operation will do is detect the qr-code-style object that was attached to the table during the capture of all the image data. The distance between each of these markers with respect to each other is enough information to properly scale the model in the scene. The distance between each marker from each other is outlined in the table below.
| Marker 1 | Marker 2 | Marker 3 | Marker 4 | Marker 5 | |
|---|---|---|---|---|---|
| Marker 1 | ~~~~~~~~~ | 3 3/16 in | 7 5/16 in | 9 6/16 in | 11 in |
| Marker 2 | 3 3/16 in | ~~~~~~~~~ | 9 5/16 in | 10 6/16 in | 9 8/16 in |
| Marker 3 | 7 5/16 in | 9 5/16 in | ~~~~~~~~~ | 3 3/16 in | 9 14/16 in |
| Marker 4 | 9 6/16 in | 10 6/16 in | 3 3/16 in | ~~~~~~~~~ | 7 13/16 in |
| Marker 5 | 11 in | 9 8/16 in | 9 14/16 in | 7 13/16 in | ~~~~~~~~~ |
Conclusions
With that the model is complete and can be exported for use in any software with proper scaling. One limitation of the model as it stands right now is that the cup it was sitting on to use as a form of pedestal obscures a circular region of the underside of the shoe. Attempting to rotate the shoe on its side and taking pictures of the underside to try and restore this area using the methods described above doesn’t quite work and instead embeds 2 shoes in each other in different orientations which is not very helpful.
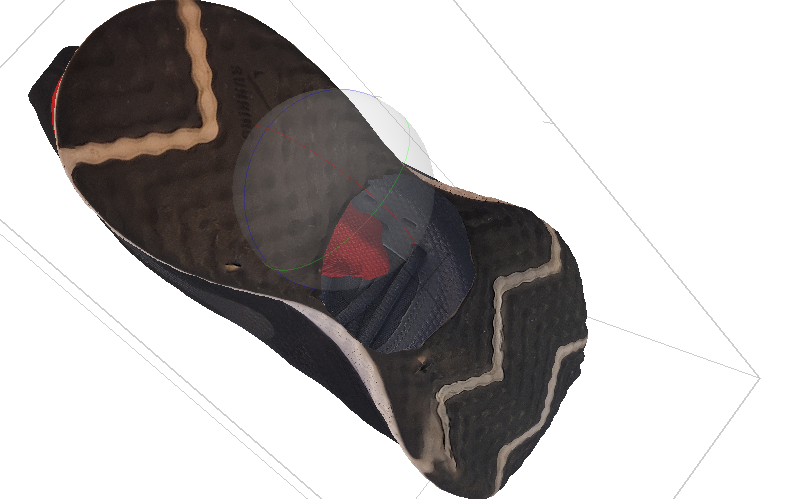 This region can still be repaired using a tool like meshlab or blender to close the gap in the model. Overall the render of this model is very good and I am satisfied with the outcome despite this software limitation. Something I would like to try differently next time is to instead use a more stationary, consistent camera position with some kind of rotating base under the model itself. This method from what I’ve seen can net better results when attempting to capture the entirety of the model and has the added benefit of more consistent positioning between camera shots. While the consistency between images wasn’t a very big issue I ran into with my model, it would have definitely helped.

